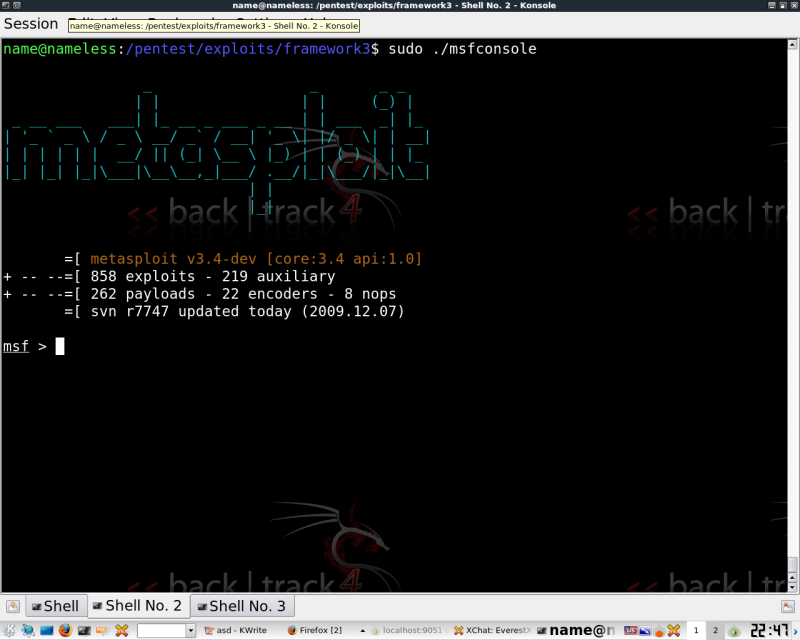
A quick intro to DB_autopwn - Framework 3
Metasploit Framework 3 updated to the latest version (from base BT4 PRE)
A host/list of hosts to attack
If you aren't familiar with the Metasploit, you're certainly missing out on it's features.
Recently a feature called Autopwn was added. This is very familiar to the Autopwn Automation included in Fast Track.
Both Framework2, 3, and Fast Track are all included in BT4 pre by defualt.
To get the db_autopwn feature, you're going to need to update with ./msfupdate from the /pentest/exploits/framework3 dir. On most machines you should also have the svn-update.sh script.
Most of this is covered in the wonderful documentation for MSF, but hopefully this will help you get started quickly. This will help the white hats bulk test with the available exploits in meta3. For the more savvy, this will just give you a way to quickly match your larger exploit list to individual hosts.
A couple things you will need are a 1. Database, 2. a host (or hosts), 3. a port scan output, 4. Exploits
For the sake of a quick how to, I'm just going to show you how to use the db_nmap feature which automatically adds all the port scan details to the database with your host.
Then we'll breifly run through matching exploits from the db.
*you'll need to sudo for most of this..*
Update MSF: ./msfupdate from the /pentest/exploits/framework3
1. Create your DB: db_create
Connect to your new DB: db_connect
Once you have created the DB you will no longer need to create it, you can simply use db_connect
2. Add hosts: db_add_host
Remove hosts: db_del_host
List hosts: db_hosts
*Please note if you simply use db_nmap, it will add the host to the hosts list automatically.
3. Scan your host and add output to DB: db_nmap (whatever nmap string you want) (single host from db_hosts)
You can add multiple hosts at once to scan in in Nmap with the -iL flag. Simply create a text file with the entrys on each line. ie.
1.1.1.1
2.2.2.2
3.3.3.3
Now you can use something like the following.
db_nmap -sT -O -v -iL targetlist.lst
Thanks to forum member numb for pointing out the -iL flag.
4. Now that your db has the nmap info, go check what exploits the ports match.
List Matched Exploits: db_autopwn -p -t
Exploit Matched Exploits db_autopwn -p -t -e
See the Meta documentation on how to connect to active sessions from, and how to use various bind shells for your exploit attacks.
Something else I would like to point out is the difference between the db_nmap vs using a Nessus scan output. The Nessus output is much more accurate in terms of applied attacks since these scan files include CVE info, with this the autopwn feature can select only those exploits, rather than all exploits that match the open port as the Nmap scan will. This is important if you are trying to run an automated attack without being too loud. It is also somewhat sloppy to fire off 50 port 21 exploits, when are sure only 1 of your exploits in framework may work.
Beer time.
EvX

